takafumi ide

Author: admin

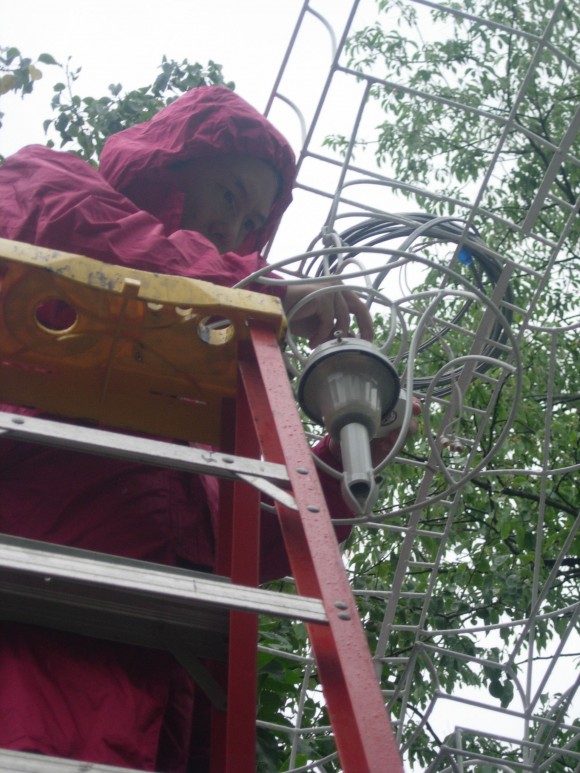
  • installing the lantern at Stone Quarry Hill Art Park

    It was rain.

    I waited to stop the rain, but no luck of weather.
    It was the only day to install the pieces at Stone Quarry Hill Art Part in Cazenovia, NY.

    Inside the lantern, there are one high bright LED and one water-proof speaker.
    I used three conductive cable in order to send the signals for both sound and light.
    The ladder was a little bit slippery, but I could install the lantern and the motion sensor without problem.

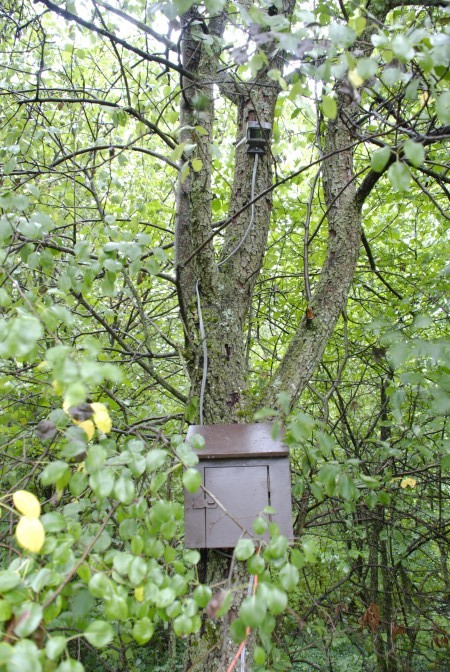
    I installed the motion sensor and the electric parts box on the tree with Zip-Ties.
    I thought I should hide the box, but there is a big branch behind the tree, so I couldn’t find a space. Finally I installed the box in the place where I didn’t need to cut live brunches.  Although it is in front of the tree and a bit visible, I think visitors can also enjoy watching them with curiosity.

    I tested them out in the rain until dusk. It works perfect for me. 🙂

    The final touch will be done by the Art Park.

    ..

  • motion sensor for threshold

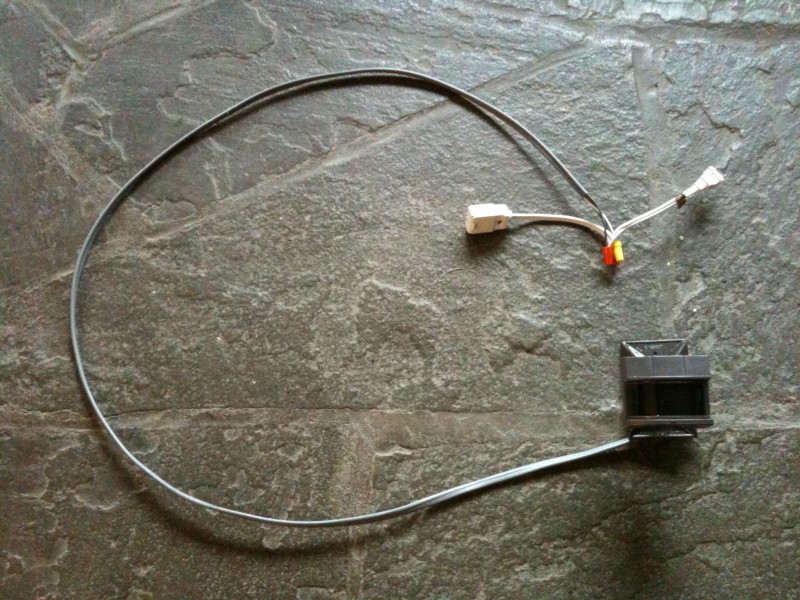
    After some research for the motion sensor for threshold, I decided to use a motion sensor from the Home Depot; Heath Zenith 240 Degree Replacement Motion Sensor.

    I needed to have both wide range (at least 200 degree) and long distance (at least 25 feet) sensitivity. It was hard for me to develop a steady and reliable sensor with Arduino in a short period of time.

    This is what I designed. In order to keep the easy access for a person who take care of the electric parts, I connected a pair of 125V plug and connector. The sensor turns ON/OFF the Arduino board. Once Arduino turns on, it plays a MP3 sound file. The setting of sensitivity will be easily changed on the sensor unit so that I do not need to be there to change the setting/programming everytime. This solved both easy access and reliability for this project.

  • control box for threshold

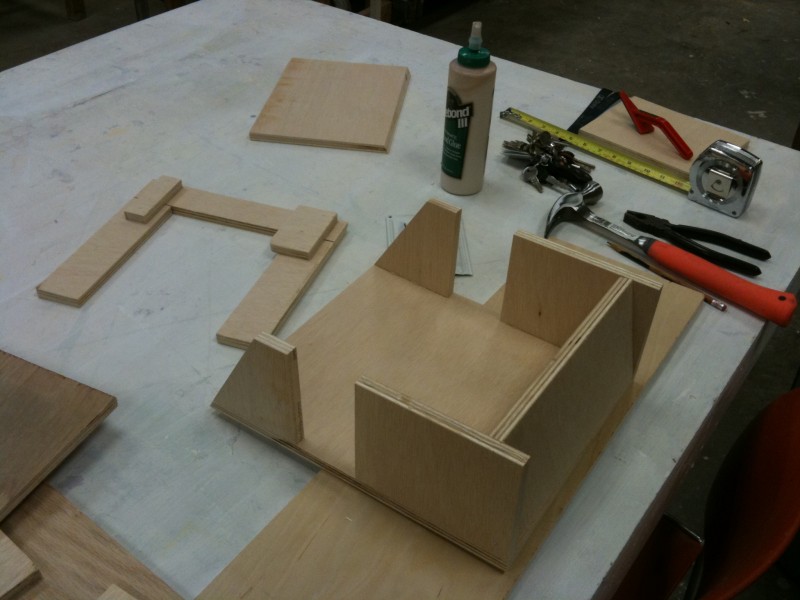
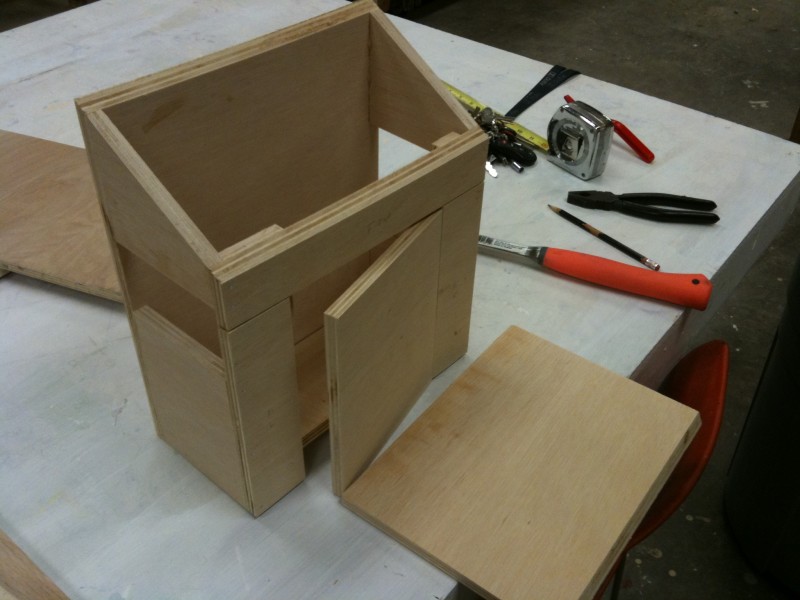
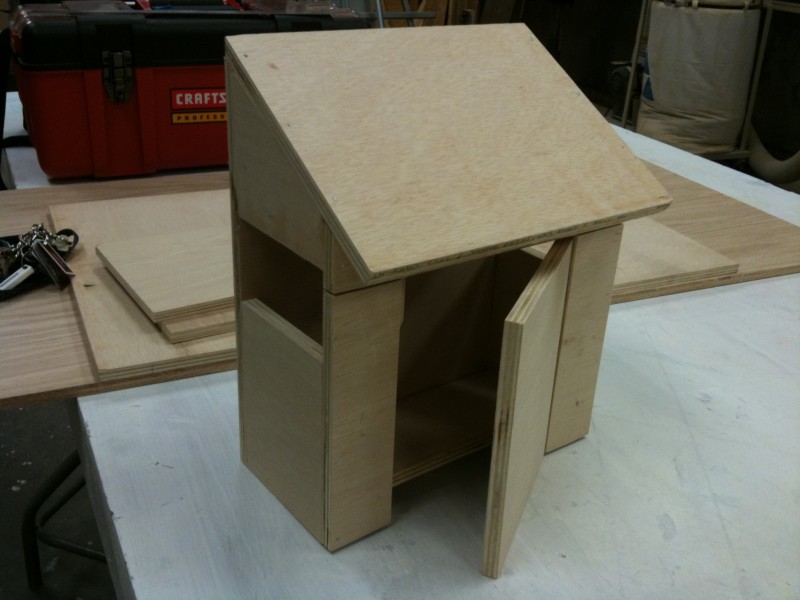
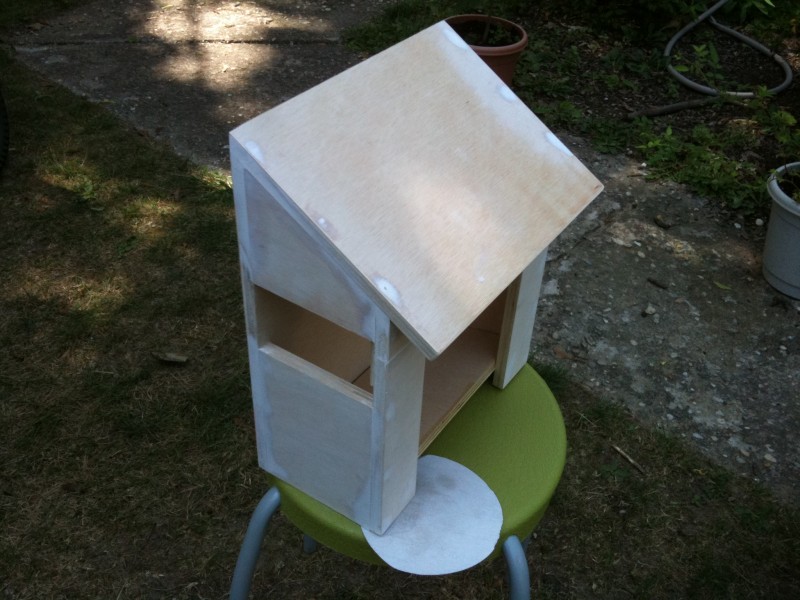
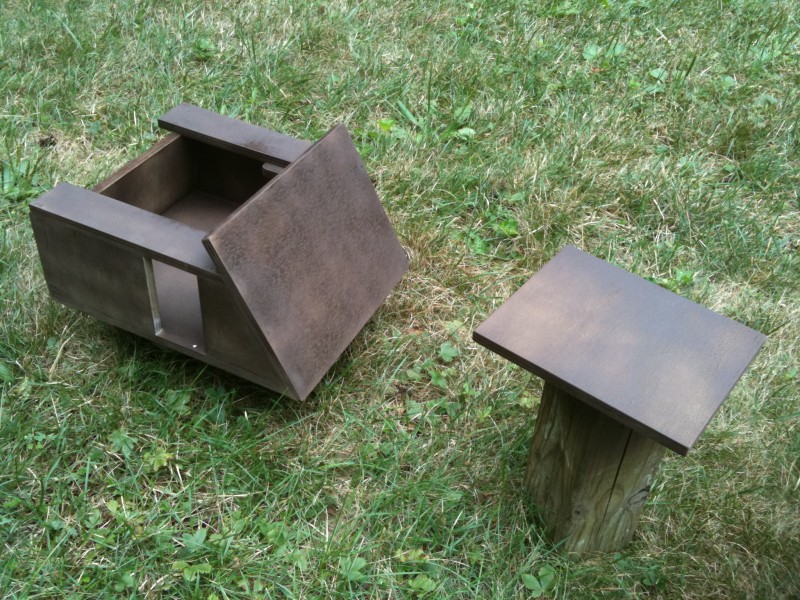
    Originally I was going to prepare a Stevenson screen for threshold at Stone Quarry Hill Art Park. It is easy to buy, but I prepared it myself with some plywood and nails. I designed a bird house like box in order to fit the location in the Art Park.

    Measure the size and cut the materials.

    Build the basic structure.

    It’s gonna be look like this.

    Sand it down.

    Spray brown paint.

    After this step, I sprayed more brownish, attached the door with a hinge and Stevenson screen on both sides. The box will hold the electric parts such as Arduino board with MP3 Player Shield, an original circuit for amplified the sound with synchronized blinking LED, and the power supply. It will be hung a tree with a big Zip-Tie.

  • How to activate

    While preparing two applications for open call here and there, I have been figuring out how I can activate the sound and light outdoor sculpture “threshold” in order to complete the installation at Stone Quarry Hill Art Park.

    My challenge here is to make a reliable system that I can activate one MP3 sound file with a motion sensor and light sensor during the daytime. After I researched and compared the cost of the systems, I decided to use Arduino Uno for the motion sensor with MP3 sound and the light sensor, then add a simple 24-hours timer in order to turn on and off the Arduino Board. Maybe, because I have already used Arduino few times in my work, and I know I will enjoy figuring out the programming.

    I purchased two of each; Arduino board, MP3 Player Shield, the case and some parts, from Sparkfun.com, which has a lot of tutorials and tips for beginners like me. If you are interested in this kind of project, you should check it out. For more information about Arduino, please visit http://www.arduino.cc.

    20110626-225127.jpg

    This above photo shows how I soldered the Stackable Headers to the MP3 Player Shield. Well, if you notice the photo shows something wrong, I know, you already have Arduino board. The Stackable Headers must stand straight up in order to attach to Arduino board nicely. In order to keep the alignment, first I put the Arduino board upside down on the table. Then I placed the MP3 Player Shield upside down with the Stackable Headers onto the board. To do this, you can keep the headers straighten with the headers on the Arduino Board. Now I solder the end pin of each Stackable Header, adjust them again, and solder every pin.

    20110626-225215.jpg

    This photo shows in process to figure out how I can use PIR Motion Sensor. It is a simple test. When something across above the sensor, the LED light is up, actually this was for blinking the LED light. After I tested out the MP3 Player Shield with MP3 file on Arduino, I attached the PIR Motion Sensor with it and wrote a new sketch. (Sketch is the unit of code that is uploaded to and run on an Arduino board.) My first attempt was okay, but the problem is that whenever the sensor catches the movement, one MP3 file starts to play from the beginning. I wanted to finish the entire sound file though, hunnnn…

    I haven’t figured it out yet, then almost run out my budget for this project… Even I am a novice user of Arduino, I must complete this project as a steady long-runnable system on the site. So, I don’t need to drive up 300 miles every time the system failed.

    I wonder how I can collect money to complete this project. I must make a box to install this system and bring them to the site. Maybe Kickstarter.com is a good place to start? I am thinking about it.

    ..